 Add Row
  Add Element
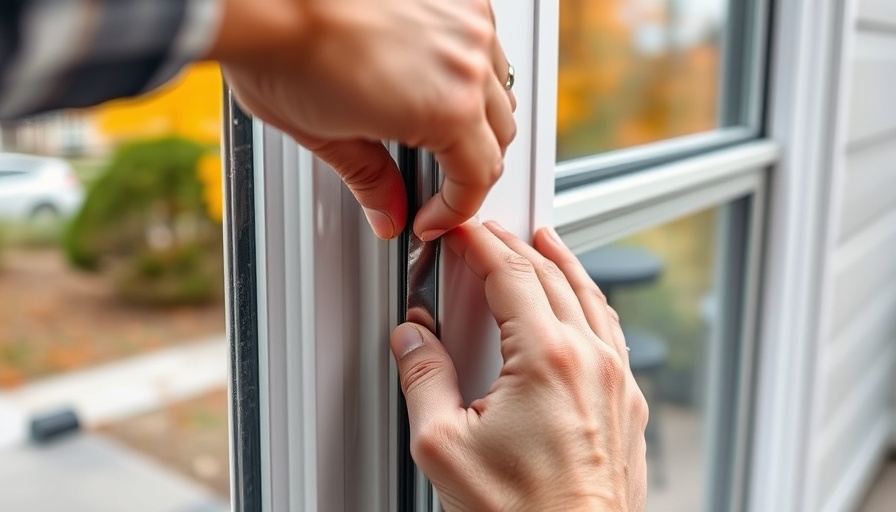
Understanding Weatherstripping: A Vital Home Upgrade
As homeowners become increasingly aware of the importance of energy efficiency, one often overlooked aspect is the role of (exterior door weatherstripping). This simple yet effective feature ensures that your home's heating and cooling system can function at its best by sealing gaps around external doors. With appropriate weatherstripping, external air stays out, while the conditioned air you pay for remains inside. It’s a straightforward upgrade that pays off in terms of comfort and savings on energy bills.
The Need for Weatherstripping: Why It Matters
The average homeowner may not realize how much energy loss can occur through even the slightest drafts around exterior doors. Studies show that poorly sealed doors can result in energy waste that impacts bills more than we often notice. Just one small crack can contribute significantly to heating costs in winter and cooling costs in summer. Additionally, effective weatherstripping protects against moisture seepage, reducing the risk of mold and water damage - a major concern in many households.
Different Types of Exterior Door Weatherstripping Options
When selecting weatherstripping, you have several options designed to cater to various needs and preferences, each with unique advantages and drawbacks:
- Tension Seal Weatherstripping: A self-sticking strip designed to create a tight seal by pressing against the door. It's effective but requires careful installation to ensure optimal performance.
- Felt Weatherstripping: This is an economical option but is less durable, especially in wetter climates. It may be a good choice for homeowners seeking a temporary solution.
- Rubber and Vinyl Weatherstripping: These options are durable and flexible, providing excellent insulation. They can withstand various weather conditions, making them suitable for many climates.
Choosing the right type of weatherstripping depends on your door's design, the climate in your area, and, importantly, your budget.
How to Install Weatherstripping: A DIY Guide
Installing weatherstripping can be a rewarding DIY project. Here's a simple step-by-step guide:
- Measure the Door: Ensure you have the correct dimensions to purchase the right amount of weatherstripping.
- Clean the Surface: Use a mild cleaner to remove dust and debris from the door and frame, ensuring a good adhesive bond.
- Cut and Apply: Cut the weatherstripping to the required length and peel off the backing. Firmly press it into place along the door edges.
- Check the Seal: Close the door to test for drafts or gaps. Adjust as necessary to perfect the seal.
This simple project not only enhances energy efficiency but also provides a sense of accomplishment as homeowners see immediate results.
Combining Weatherstripping with Other Energy-Saving Projects
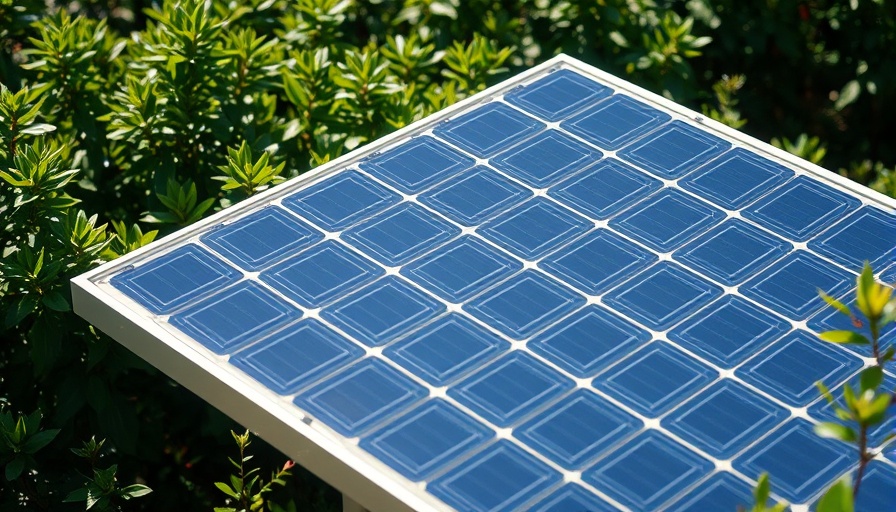
One of the best strategies for homeowners is to combine weatherstripping with other maintenance tasks for even greater energy savings. For instance, caulking windows and doors alongside adding weatherstripping creates a comprehensive barrier against drafts and moisture penetration. Additionally, technologies such as smart thermostats can be integrated to synergize with these home upgrades, enhancing energy efficiency further.
Future Trends: Smart Weatherstripping Innovations
As sustainability continues to permeate home improvement, innovations in weatherstripping materials and smart technologies are on the horizon. Future options may include self-adjusting materials that adapt based on temperature or humidity, offering homeowners optimal sealing year-round.
Investing time and resources into effective weatherstripping ultimately leads to a more comfortable, energy-efficient home. Homeowners are encouraged to consider these solutions, not only for the immediate benefits but also for long-term sustainability. By proactively addressing weather-related issues, you're partaking in a positive step towards a greener future.
Are you ready to enhance your home's efficiency? Explore the world of smart home upgrades today and make a difference in your energy consumption and comfort levels!


 Add Row
  Add
Add 


Write A Comment